
RuID Does Not Accept Biometrics: Causes and What to Do
The Gosuslugi RuID application requires identity verification via biometrics — real-time facial capture. It is at this step that many foreign citizens encounter errors: the system rejects the photo, freezes, or reports data mismatches. The procedure for submitting an entry application as part of the pilot project is described on the official Gosuslugi page , and the legal framework is established in Decree of the Government of the Russian Federation dated November 7, 2024 No. 1510 . Below are the specific causes of failures and step-by-step solutions for each of them.
Why RuID Verifies Biometrics
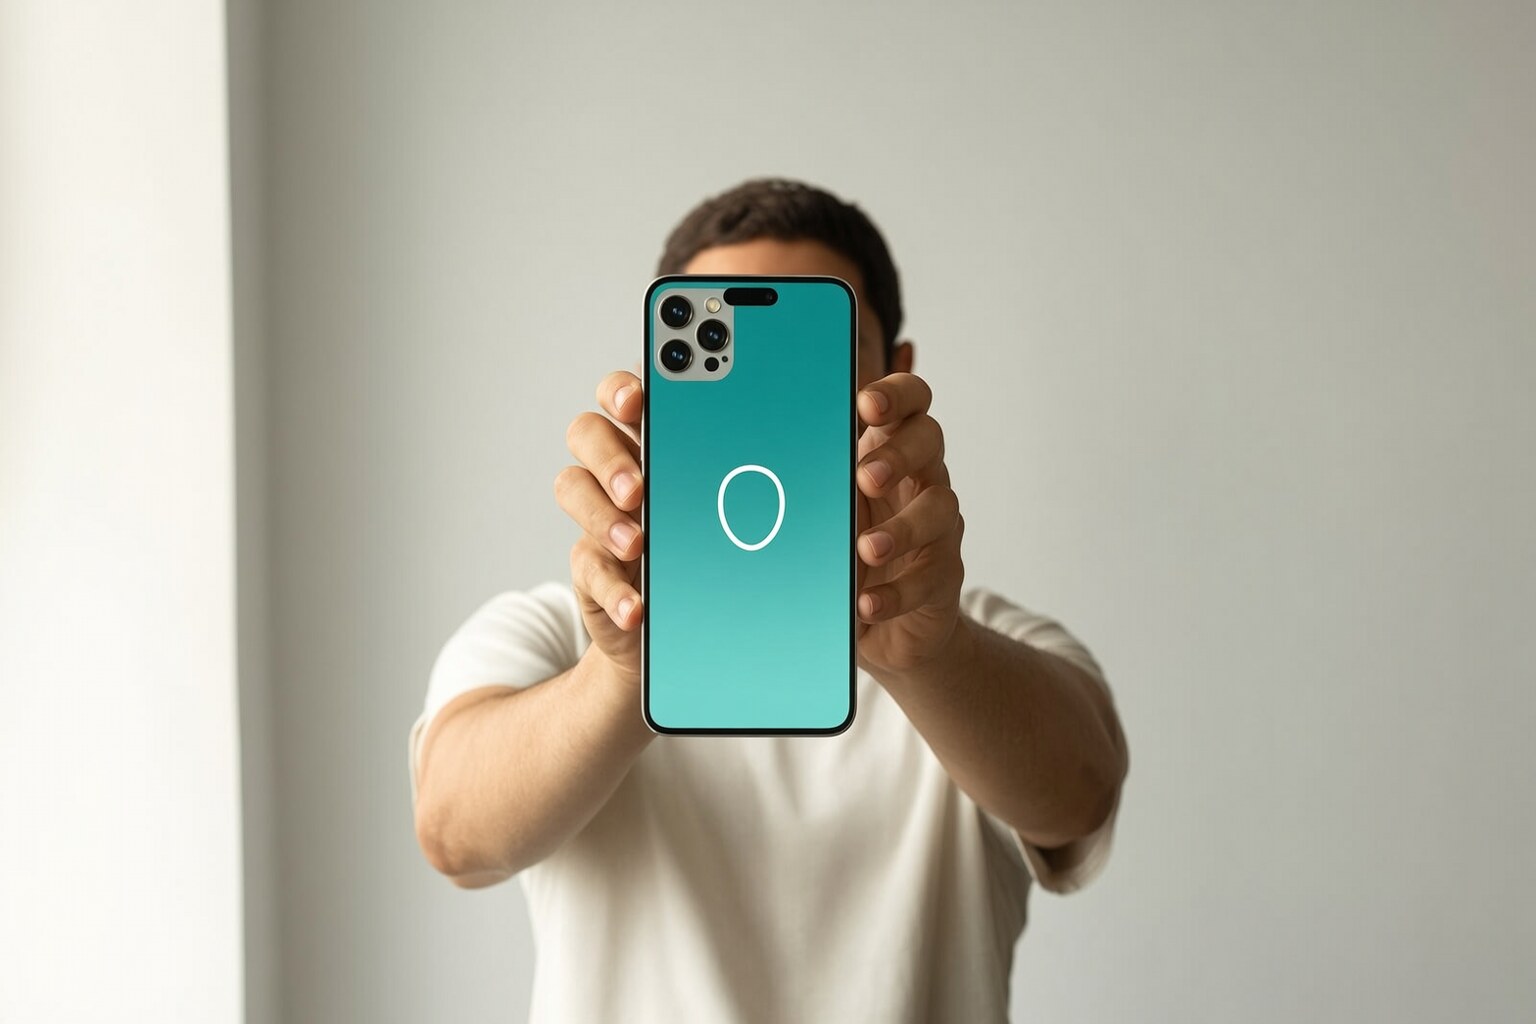
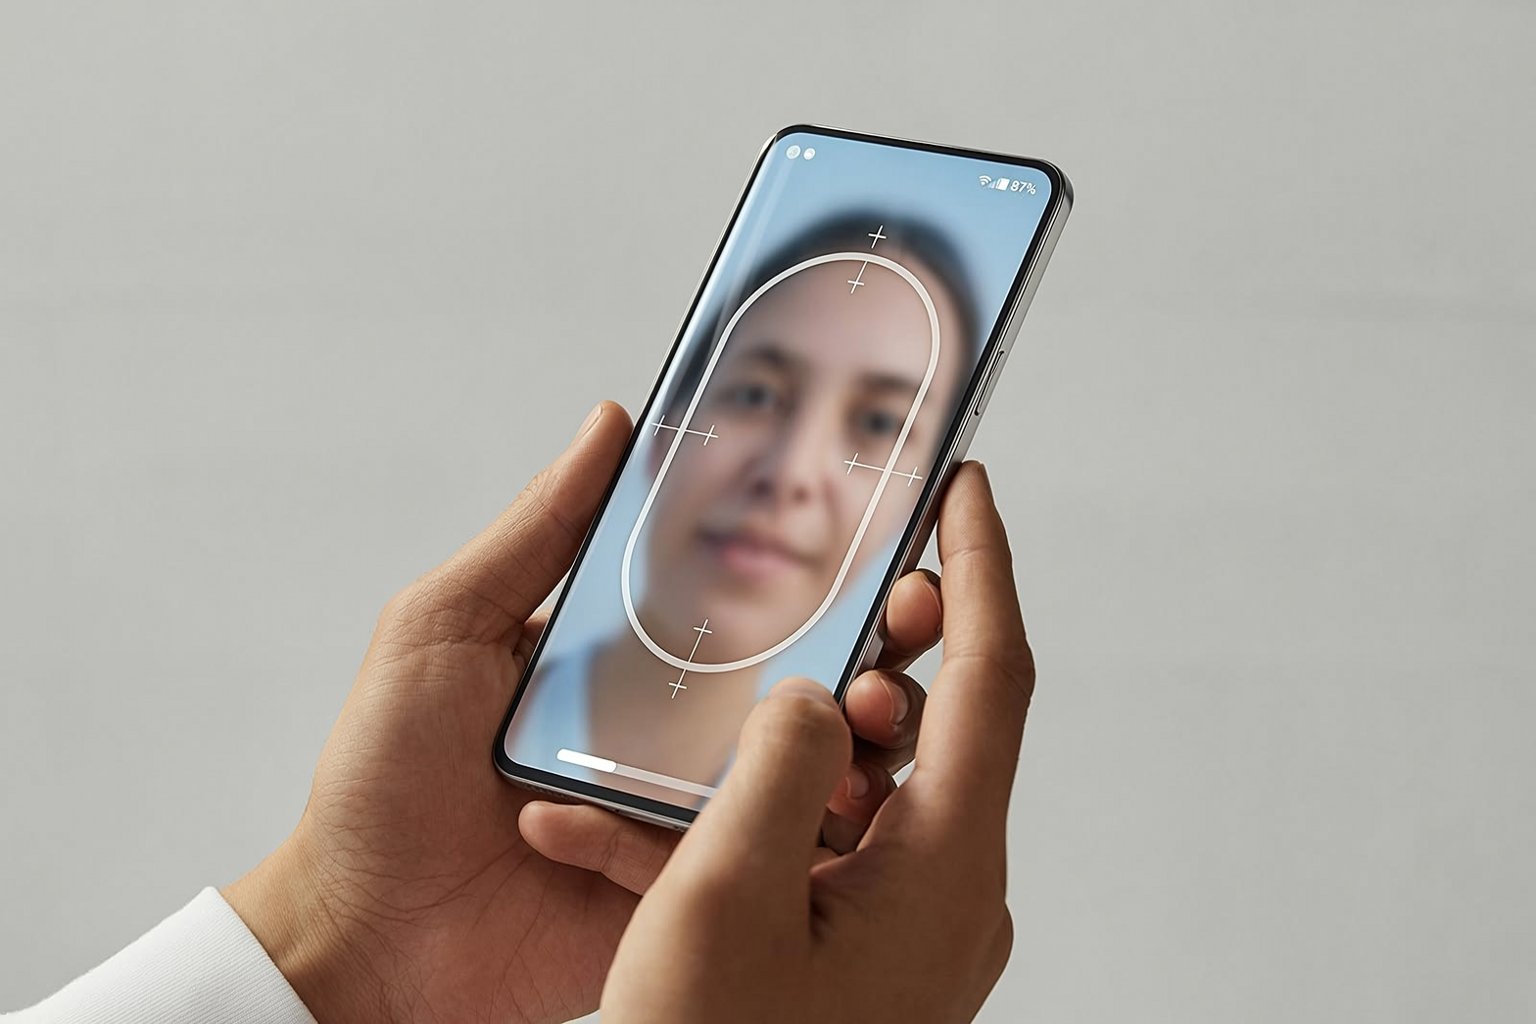
Biometric verification is needed for the system to ensure that the application is submitted by the exact person whose passport details were entered into the form. The application captures a “live” face via the front camera and compares it with the photo in the document. This is a mandatory step when submitting an entry application via RuID.
Seven Reasons Why Biometrics Are Not Accepted
1. Poor Lighting or Unsuitable Background
This is the most common reason. The algorithm cannot recognize facial features if:
- the light source is behind you and your face is in shadow;
- the room is dark or the only light comes from the smartphone screen;
- the background is too busy or close in tone to your skin color.
Solution. Face a window or a daylight desk lamp. Choose a solid, light background. Do not point direct sunlight into the lens — it overexposes the shot.
2. Glasses, Masks, or Other Accessories
The system may reject the photo if the face is partially covered by sunglasses or prescription glasses, a mask, a scarf, a cap visor, or bangs covering the eyebrows.
Solution. Remove all accessories. Make sure your forehead, eyebrows, eyes, and both ears are fully visible.
3. Changed Appearance
If your appearance has changed significantly since the passport was issued — a beard has grown, the hairstyle has changed drastically, or facial tattoos have been added — the algorithm may fail to match the shot with the passport photo.
Solution. Try to match your appearance as closely as possible to the photo in your passport. If this is not possible, describe the situation in a support request.
4. Outdated App Version
The biometric module is updated regularly. An older version may contain bugs that have already been fixed by the developers.
Solution. Open the App Store or Google Play, search for “Gosuslugi RuID”, and install the latest version. After updating, completely close the app and reopen it.
5. Poor Front Camera Quality
A blurry or grainy image prevents the algorithm from reading biometric reference points.
Solution. Wipe the camera lens with a soft, dry cloth. If the device’s front camera is very old, try another smartphone with the latest app version and the same Gosuslugi account.
6. Unstable Internet Connection
Biometric data is transmitted to the server in real time. With a slow or unstable connection, the request gets interrupted, and the system registers an error.
Solution. Switch to Wi-Fi with a strong signal or make sure your mobile internet is stable. Try again in a few minutes.
7. Server-Side Technical Glitch
Gosuslugi servers periodically experience increased load or undergo scheduled maintenance.
Solution. Wait 1–2 hours and try again. Service status is displayed on the Gosuslugi portal .
Step-by-Step Guide if Nothing Helps
If you have eliminated all obvious causes, but biometrics are still rejected, follow these steps.
Step 1. Document the error. Take a screenshot of the screen with the exact notification text. Record the time of the attempt and the app version number (visible in settings).
Step 2. Check passport details in your profile. First name, last name, date of birth, and document number must match the passport character for character. Even a single typo can cause a mismatch during biometric verification. To learn how to correct your data, read the article How to Update Passport Data in RuID .
Step 3. Try on another device. Install the latest version of RuID on another smartphone, log in to the same Gosuslugi account, and try again.
Step 4. Do not create a duplicate Gosuslugi account. A duplicate account will not solve the biometric issue. Wait for a response from support before taking further action.
Step 5. Contact customer support. Submit a request via the official Gosuslugi portal — help and feedback section. In your request, specify: citizenship, planned entry date, application status, exact error text, and attach screenshots.
Special Situations
Child Under 6 Years Old
Children under six years of age are completely exempt from the biometrics requirement: RuID registration and submitting an application via the app are not required for them. Learn more about traveler categories in the article Who Must Complete the RuID Entry Application .
New Passport After Initial Biometrics
If you received a new passport, you will need to update the data in your profile and undergo biometric verification again. Do not update the data until you are ready to take the facial photo immediately: it is best to complete the process in a single session.
Citizen of a Visa-Required Country
For citizens of countries requiring a visa to enter Russia, the RuID app is currently not a mandatory tool. Entry permission is granted via a visa. Check current requirements in the visitrf.com entry rules section .
Biometrics Fail for a Citizen of a Visa-Free Country Before a Tourist Trip
Reminder: Participation in the RuID pilot project is not required for all categories of travelers. Before spending time on multiple attempts, check whether you need to submit an entry application in the article Who Needs RuID and Who Does Not .
What to Do if Departure Is in 72 Hours or Less
If there are fewer than three days left before entering Russia and your biometrics have not been accepted:
- Immediately submit a request via the official Gosuslugi portal — specify the travel date and the error text.
- Check with your airline or tour operator which documents are required for boarding on your route; keep screenshots of errors and attempts made while the issue is being resolved.
- Keep screenshots of errors and correspondence — they will be useful for support when reviewing your case.